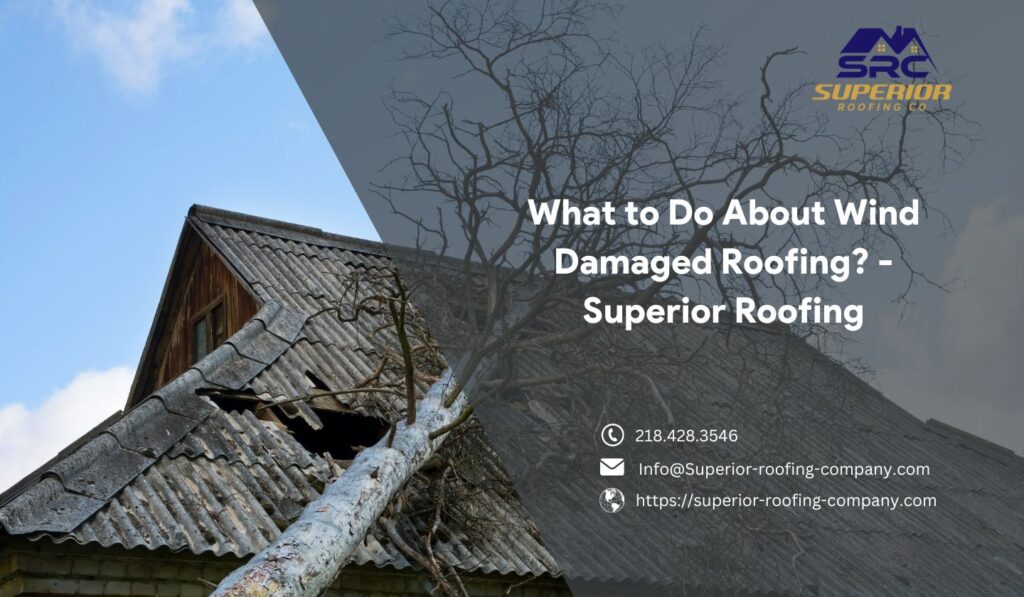
High winds have the potential to destroy your home’s roofing system, causing missing shingles, compromised flashing, and possible structural weaknesses. If neglected, wind damaged roofing may lead to leaks, water damage, and expensive repairs. It is extremely important to know the steps to inspect and repair wind damage in order to preserve the integrity of your roof and keep your home safe.
Spotting the Signs of Wind Damaged Roofing
Not all wind damage is cut-and-dried. Sure, you might see missing shingles or gaping holes, but there are other things that can be just as bad. Here are some of the warning signs to watch out for:
- Curled, Cracked, or Missing Shingles: Shingles can be curled and blown off by wind and be leak-prone.
- Granule Loss: Asphalt shingles are coated with protective mineral granules that reflect UV rays. They reflect sunlight and protect the underlying asphalt. Missing granules mean less protection.
- Exposed Underlayment: Underlayment is the waterproof layer beneath the shingles. If it’s visible, it’s time to call a roofer.
- Interior Leaks and Water Damage: Stains on ceilings or walls, damp spots in the attic, or actual dripping water are definitive signs that the roof’s integrity has been compromised, which may result in mold and mildew.
How Different Types of Roofing Withstand Strong Winds
All roofing materials are not equal when it comes to wind resistance. Here’s a comparison of different types:
- Asphalt Shingles: Regular asphalt shingles may last through 110 mph winds, and high-end architectural shingles will last through up to 130 mph when installed correctly.
- Metal Roofing: Metal roofing is the most durable and can sustain winds of more than 140 mph, making it ideal for high-storm regions.
- Tile Roofing: Clay and concrete tiles are heavy and durable but can still be susceptible if not firmly attached. Installation is important to maximize wind resistance.
- Wood Shingles and Shakes: Attractive wood roofing is more prone to wind uplift unless well-maintained and installed using tough fasteners.
- Flat Roofing: Generally observed on commercial properties, flat roofs depend upon membrane systems that must have firm adhesion and the right sealing in order to sustain heavy winds.
Read Related: How Long Does a Typical Minnesota Roofing Project Take?
Types of Wind Damage To Roof
Wind is bad enough by itself, but in a storm, it’s not only the wind you need to contend with. If you believe gentle breezes are nothing to worry about, you are partially correct. Winds that travel at less than 74 mph won’t seriously harm your roof. But if you move into the category of hurricanes, tornadoes, or even the severe gusts within a major storm, the extent of damage increases. Below are the main types of wind damaged roofing.
1. Wind Damaged Roofing Due to Wind Speed Intensity
A Category 1 hurricane (74 to 95 mph) can cause significant damage to shingles and siding, according to the National Hurricane Center (NHC). Just think what a Category 5 hurricane (over 157 mph) would be able to do – it’s nothing less than disastrous.
Tornadoes are a different creature altogether. Using the Enhanced Fujita (EF) Scale, tornadoes in the 73-112 mph range – those that are listed as producing “Moderate Damage” – can begin stripping away sections of your roof. And if speeds are high enough, roof systems can be ripped off instantly.
2. Wind Damaged Roofing Due to Flying Debris
Debris flying through the air – branches from trees, patio furniture not tied down, and even destroyed fence panels – can turn into projectiles. Your roof may hold up to the wind itself, but impact is where the damage often really results from. One sharp hit from debris can create cracks, punctures, or broken shingles, resulting in leaks and structural weaknesses.
Immediate Steps to Take for Wind Damaged Roofing
1. Prioritize Safety
Before inspecting or trying any repairs to wind damaged roofing, safety must be taken into account. Refrain from going onto the roof, particularly if damage is extensive or there are unsafe weather conditions. If you have reason to believe that serious structural damage exists, clear the area and call for professional help.
2. Conduct a Visual Inspection
Ground surveys or drone aerials can help you in estimating the extent of wind damage. Check for:
- Shingles missing in the valleys and along the edges.
- Shingles lifting or curling up. This lets water in.
- Damage to roof flashing around chimneys and vents
- Debris in the gutters that might clog the water flow and water damage the roof.
- Cracks or holes in the roof vents.
3. Document the Damage
Document all affected areas of the wind damaged roofing in good light from all possible angles. This will help make insurance claims easier. Make detailed reports explaining the nature of the damage and the location.
4. Contact Your Insurance Company
If the damage is widespread, you should report it to your insurance company immediately. Photograph the damage and document it in writing to them. Keep all correspondence, claim numbers, and roofer estimates on record.
Common Roof Repairs for Wind Damage
Depending on the severity, your builder can suggest the following repairs:
- Replacing Damaged or Missing Shingles: Replacing properly prevents water intrusion and further damage.
- Re-Sealing Flashing: Seal loose or damaged flashing around chimneys and vents to avoid leakage.
- Fixing Roof Vents: Roof vents which have been broken or cracked need to be replaced or repaired to allow air.
- Retrofitting Roof Structure: In the worst-case condition, more support or bracing can be required to make the roof strong enough to be able to withstand future storms.
Read Related: How to Seal Roof Penetrations (Vents, Pipes, and More)
Professional Assessment and Repairs
After you have made the initial roof inspection, it is time to call in a professional roofing team. A licensed and professional roofing contractor can inspect the damage and fix it. They either conduct the inspection via ground survey or use drone roof inspection to have a clear view of the wind damaged roofing. A professional inspection establishes the extent of structural damage and whether a roof replacement will be partial or total. Make sure the roofing contractor adds the aerial drone inspection footage as part of the documentation.
Call the Experts at Superior Roofing Company for Wind Damaged Roofing Repairs
If the roof of your home has been wind damaged, don’t delay repairs. Superior Roofing Company has been offering the best roof repair Duluth MN services, and the surrounding communities for more than 16 years. Our professionals will carry out minor repairs, roof replacements, or help restore and protect the integrity of your roof. Call (218) 248-6060 to talk to a certified roofing expert at Superior Roofing Company or email info@superior-roofing-company.com to get started. Don’t wait until small issues turn into costly repairs. Get a professional roof inspection today through Superior Roofing Company!
________________________
Related Reads
Chimney Flashing Repair Wisconsin: Costs and Process
Plumbing Vent Pipe Roof Repair Wisconsin: Roof Plumbing Vent Pipes, Common Issues, and Repairs in WI
Roof Pipe Boot Replacement Wisconsin: Why Proper Roof Pipe Boots Matter in Wisconsin’s Climate
Understanding the Freeze Thaw Cycle Roof Damage and Its Effect on Minnesota Roofs
How to Replace Roof Shingles: A Step-by-Step Guide
Flat Roof Advantages: What You Gain with Superior Roofing Company